

Seal a Greenhouse Against Pests and Drafts This Fall
The fastest path to a tighter, pest-resistant greenhouse: seal the doors and threshold first, screen every vent and opening with the right mesh, then rodent-proof the base. Do those three things and you’ve closed off the entry points responsible for most heat loss and most infestations.
Start today with three moves. Run a windy-day draft check with a lit incense stick or a tissue held near seams. Install a door sweep if yours is missing one. Quarantine any new plant for at least two weeks before it touches your main growing space. One caution up front: sealing too aggressively without adjusting ventilation traps humidity and invites disease, so every fix below gets balanced against airflow.
- Do a windy-day draft inspection today
- Install or replace a door sweep this weekend
- Quarantine new plants before they enter the main greenhouse
Key Takeaways
Sealing doors, vents, and glazing seams first, then adding pest-appropriate screening and a buried rodent barrier, solves most draft and pest problems in a home greenhouse.
| Point | Details |
|---|---|
| Inspect before you fix | Use a windy-day tissue or incense test to find every draft source before buying materials. |
| Seal moving parts first | EPDM gaskets and butyl tape on doors and vents give the fastest payoff. |
| Match mesh to the pest | Use 0.025 inch mesh for leafminers or 0.0075 inch for thrips, and oversize the screened area. |
| Rodent-proof the base | Bury 18 to 20 gauge hardware cloth 6 to 12 inches deep around the perimeter. |
| Know when to replace | Gridwiseliving’s greenhouse collection offers tighter-sealing doors and vents for frames beyond economical repair. |
Table of Contents
- How Do You Find Draft and Pest Entry Points?
- How Do You Seal Doors, Vents, and Seams?
- What Mesh Size Keeps Pests Out Without Killing Airflow?
- How Do You Rodent-Proof the Base of a Greenhouse?
- Which Insulation Upgrades Are Worth the Cost?
- Will Sealing and Screening Hurt My Ventilation?
- How Do Sanitation and Quarantine Stop Pests for Good?
- What Should You Buy for a Weekend Sealing Project?
- When Does Replacing Beat Repairing?
- Sources
How Do You Find Draft and Pest Entry Points?
Pick a breezy day and walk the perimeter with a lit incense stick or a piece of tissue paper held a few inches from every seam. Smoke that curls sideways or tissue that flutters marks a leak. At night, shine a flashlight from inside with the lights off; a helper outside can spot pinpricks of light coming through frame joints, vent flashing, or glazing laps. Run a gloved hand along thresholds and seams to feel for cold air.
- Check door edges and the threshold gap first, since doors are the single biggest leak source in most structures.
- Inspect ridge vents, roof vents, and fan shutters for gaps around the frame.
- Run fingers along glazing seams and polycarbonate laps for warped or missing tape.
- Check the foundation perimeter and any pipe or wire penetrations for gaps rodents could widen.
Pro Tip: Mark every problem spot with painter’s tape as you find it, then sketch a quick floor plan afterward. That fifteen-minute record turns a vague “it’s drafty in here” feeling into a prioritized repair list. Doors, vents, and glazing laps consistently top the list of leak sources according to practical greenhouse maintenance guidance.
How Do You Seal Doors, Vents, and Seams?
Fix moving-air gaps before anything else. A door that doesn’t close flush or a vent shutter that never fully seats will undo hours of caulking elsewhere, so start there and work outward.
- EPDM rubber gaskets for door edges and any moving panel; they stay pliable through freezing temperatures.
- Butyl rubber tape for irregular seams and lap joints where a rigid gasket won’t conform.
- Low-temperature silicone caulk for rigid frame-to-frame joints that don’t move.
- Compressible foam tape along sash edges and thresholds where a door or window presses shut.
University of Missouri Extension recommends exactly this pairing of EPDM gaskets and butyl tape because standard hardware-store weatherstripping turns brittle and cracks in cold weather, right when you need it most.
Realign the door hinges before you seal anything; a door that hangs even slightly crooked will compress one side of a new gasket and leave the other gap wide open. Install a threshold sweep along the bottom, and replace any seal that looks cracked, flattened, or shiny rather than matte. Add a fall inspection to your calendar so brittle seals get caught before winter, not during it.
Pro Tip: Skip spray foam except for genuinely large voids. It expands unpredictably, is nearly impossible to remove cleanly, and can warp lightweight aluminum framing if you overfill a gap.
What Mesh Size Keeps Pests Out Without Killing Airflow?
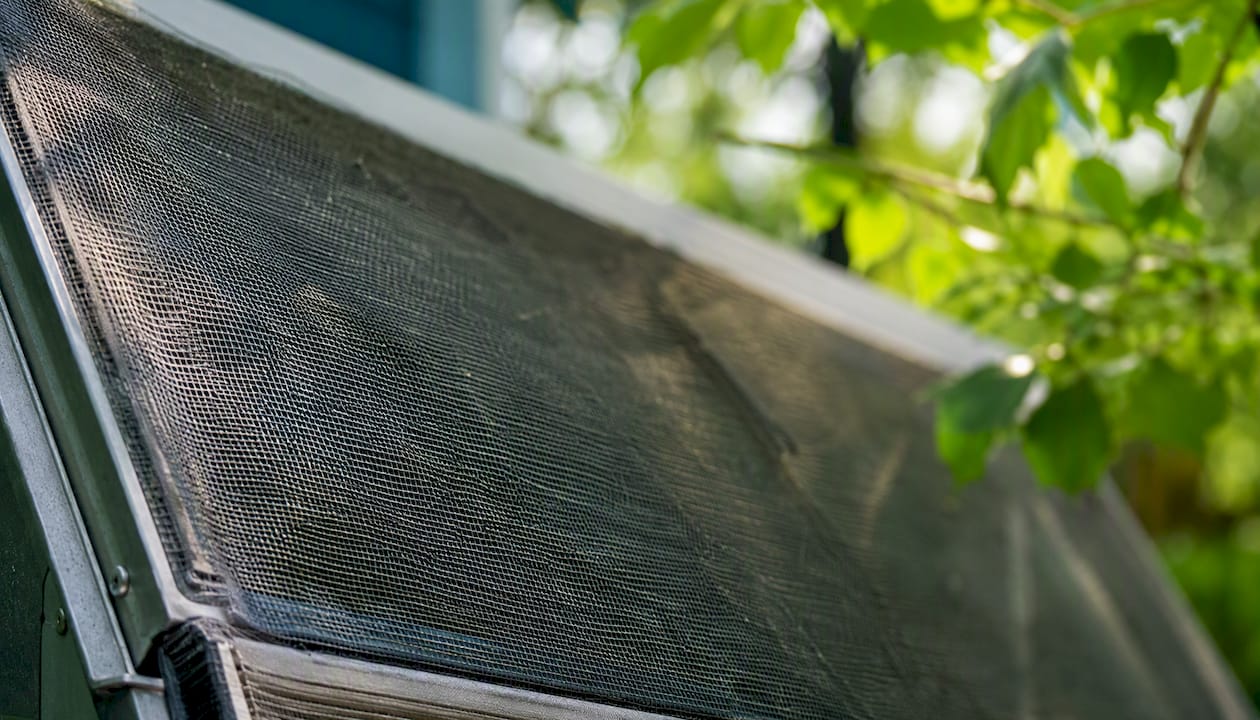
Screening works, but only if the mesh matches the pest you’re actually fighting. Go too fine and you choke off airflow your fans depend on; go too coarse and thrips walk right through.
| Target pest | Recommended mesh size | Ventilation trade-off |
|---|---|---|
| Leafminers | 0.025 inch | Moderate airflow resistance |
| Whiteflies | 0.025 inch | Moderate to high resistance |
| Western flower thrips | 0.0075 inch | High resistance; requires compensation |
These figures come from UConn Extension’s greenhouse IPM guidance, which notes that finer screens exclude smaller pests but proportionally increase resistance to airflow. That’s not a minor footnote. Fine enough mesh to stop thrips can cut effective vent capacity enough to stall your fans if you don’t plan around it.
- Mount screens on a separate frame rather than stapling directly to vent openings, so damaged sections can be swapped without rebuilding the vent.
- Oversize the screened area beyond the vent opening itself to offset the pressure drop.
- Inspect screens each season for tears; a fist-sized hole undoes the entire exclusion effort.
UT Extension’s micro-screening guide suggests designing the screen area around your actual fan specs, since a fan rated for a certain airflow volume will underperform badly if the intake screen resistance was never factored in.
How Do You Rodent-Proof the Base of a Greenhouse?
Rodents rarely climb through a vent. They dig under the foundation, squeeze through door gaps, or chew through a corner where the skirt meets grade. An exterior barrier at ground level stops most of that before it starts.
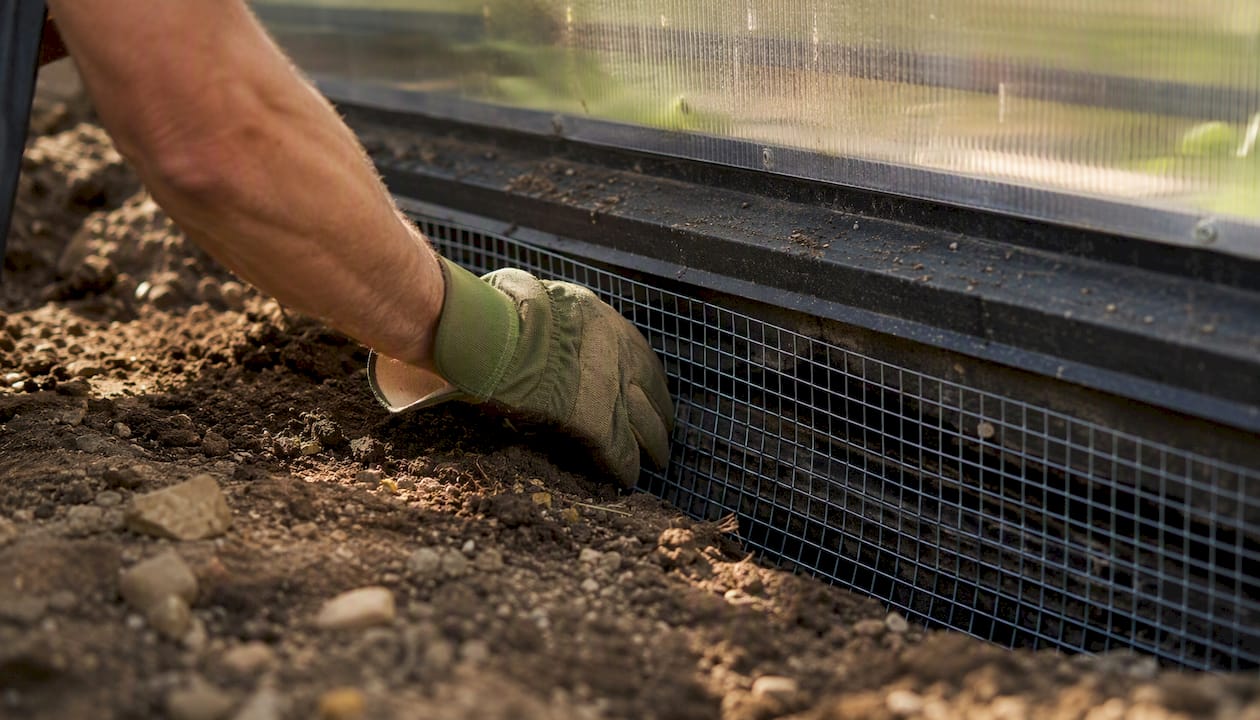
- Bury 18 to 20 gauge hardware cloth 6 to 12 inches deep around the entire perimeter, angled slightly outward like an L to block digging.
- Fasten the above-grade portion to the frame with washers or fender washers so it can’t be pried loose.
- Add a metal kick plate or threshold guard to the door bottom, since wood and thin aluminum both give way to gnawing.
- Wrap any vent or pipe penetration at ground level with the same hardware cloth before backfilling.
Wear gloves when cutting hardware cloth; the cut edges are sharp enough to slice skin. Check the buried barrier each spring after frost heave, since freeze-thaw cycles can lift a shallow section right out of the ground.
Which Insulation Upgrades Are Worth the Cost?
Insulating a leaky shell wastes money. Seal first, because every dollar spent on bubble wrap or thermal curtains on a structure that’s still leaking air through the door is a dollar poorly spent. Once the moving-air leaks are closed, insulation delivers real, lasting gains.
| Material | Cost | Best use |
|---|---|---|
| Bubble wrap | Low | Glazing panels, quick seasonal install |
| Twin-wall polycarbonate | Medium to high | Permanent glazing upgrade, higher R-value |
| Rigid foam board | Medium | Foundation skirt, north-facing wall |
GardeningKnowHow’s insulation guide points to bubble wrap as the cheapest option that still adds meaningful R-value without blocking much light, which makes it the default choice for a first winter upgrade.
- Tape polycarbonate panel edges with foil or vent tape to keep condensation from wicking into the flutes.
- Hang a thermal curtain at night and pull it back at sunrise; leaving it up full time costs you light you can’t get back.
- Remove or loosen bubble wrap glazing covers each spring; it’s a seasonal fix, not a permanent one.
Will Sealing and Screening Hurt My Ventilation?
Every screen you add and every gap you close changes how air moves through the structure. Screening in particular adds real resistance. Fine mesh rated for thrips can meaningfully choke a fan’s rated output if the intake area wasn’t sized to compensate, according to UT Extension’s screening research.
- Track daytime high temperatures for a week after installing screens; a sudden jump signals inadequate airflow.
- Hold a hand near the fan intake; weak, barely perceptible pull means the screen is starving it.
- Add screened area rather than removing the screen entirely, if reduced pest exclusion is on the table.
- Add a small circulation fan in stubborn corners rather than pulling screening you worked to install.
How Do Sanitation and Quarantine Stop Pests for Good?
Sealing keeps pests from walking in the door. Quarantine keeps you from carrying them in yourself, which is by far the more common route.
- Isolate every new plant, plug, or liner in a separate space for at least two weeks before it joins your main crop.
- Inspect quarantined plants under bright light, checking leaf undersides and soil surface for eggs or larvae.
- Discard heavily infested material in a sealed bag or container, away from the greenhouse.
MSU’s greenhouse insect management guidance identifies incoming plant material as the single most common pest introduction route, ahead of vents, doors, or clothing.
- Pull weeds and clear debris from the perimeter weekly; both harbor overwintering insects.
- Hang yellow sticky cards near vents and doors, one per 1,000 square feet as a rough scouting baseline, and check them weekly.
- Keep benches clear of standing water and plant debris.
UConn Extension frames exclusion and sanitation as the reason growers can rely less on pesticide sprays altogether. Physical barriers work whether or not the pest has developed resistance to a chemical.
What Should You Buy for a Weekend Sealing Project?
A typical small backyard greenhouse can be sealed, screened, and rodent-proofed in a single weekend by one or two people, for somewhere in the range of a modest hardware bill up to a couple hundred dollars depending on how much needs replacing.
| Task | Materials | Rough cost |
|---|---|---|
| Sealing | EPDM gaskets, butyl tape, low-temp silicone | Low to medium |
| Screening | Fine mesh, screen frame stock, fasteners | Medium |
| Rodent-proofing | Hardware cloth, washers, kick plate | Low to medium |
| Insulation | Bubble wrap or rigid foam board | Low |
- Utility knife, caulk gun, wire cutters, and a staple gun cover most of the install work.
- Clean and dry every surface before applying tape or caulk; adhesion fails on dusty or damp frames.
- Buy a few extra feet of gasket and tape beyond your measurements; corners eat material fast.
What Do University Extension Programs Recommend for Sealing Specs?
Screen mesh should be matched to the target pest, ranging from roughly 0.025 inch for leafminers down to 0.0075 inch for western flower thrips, and flexible materials like EPDM gaskets and butyl tape are preferred for moving parts because they resist cracking in cold temperatures.
- Missouri Extension’s IPM guidance backs the door-and-vent sealing priority order used throughout this guide.
- UConn Extension supplies the specific mesh sizes for common greenhouse pests.
- Seal doors, vents, and glazing seams first. Screening and insulation matter less if the biggest gaps stay open.
What Do Experienced Growers Get Wrong?
I’ve seen more than one grower seal every vent tight before running a single humidity check, then wonder why botrytis showed up in January. Test airflow before and after each fix.
The two upgrades most gardeners skip: a proper door sweep and buried hardware cloth. Both cost little and stop more problems than any amount of caulk.
When Does Replacing Beat Repairing?
Some structures just aren’t worth chasing anymore. If your frame has warped past square, the glazing is cracked in multiple panels, or you’re re-caulking the same seam every season, the repair bill starts rivaling the cost of a new structure built to seal properly from day one.

That’s the calculation worth running honestly before you sink another weekend into a frame that keeps working against you. Gridwise Living’s greenhouse collection is built around swing doors, roof vents, and tighter panel seams instead of the gap-prone joints that make older structures such a chore to seal. The 10x32ft heavy-duty polycarbonate greenhouse is a good example, with roof vents positioned for the kind of screening upgrades covered above already factored into the frame design. If your current structure is fighting you every season, browse the collection and see what a properly sealed starting point actually looks like.
Sources
- Using Integrated Pest Management in Greenhouses and Herbaceous Nurseries | MU Extension
- Greenhouse Insect Management 2026 (MSU floriculture upload)
- Greenhouse Integrated Pest Management (UConn Extension)
- PB1594 Excluding Insect Pests Using Micro-Screening (UT Extension)
- How to insulate a greenhouse (GardeningKnowHow)